
How to Install a DIY Irrigation System: A Step-by-Step Guide


Installing a DIY irrigation system is a fantastic way to ensure your garden gets the water it needs while conserving resources and saving money. With a little planning and some basic materials, you can set up an efficient system tailored to your specific garden layout. This guide will walk you through the steps needed to install your own irrigation system.
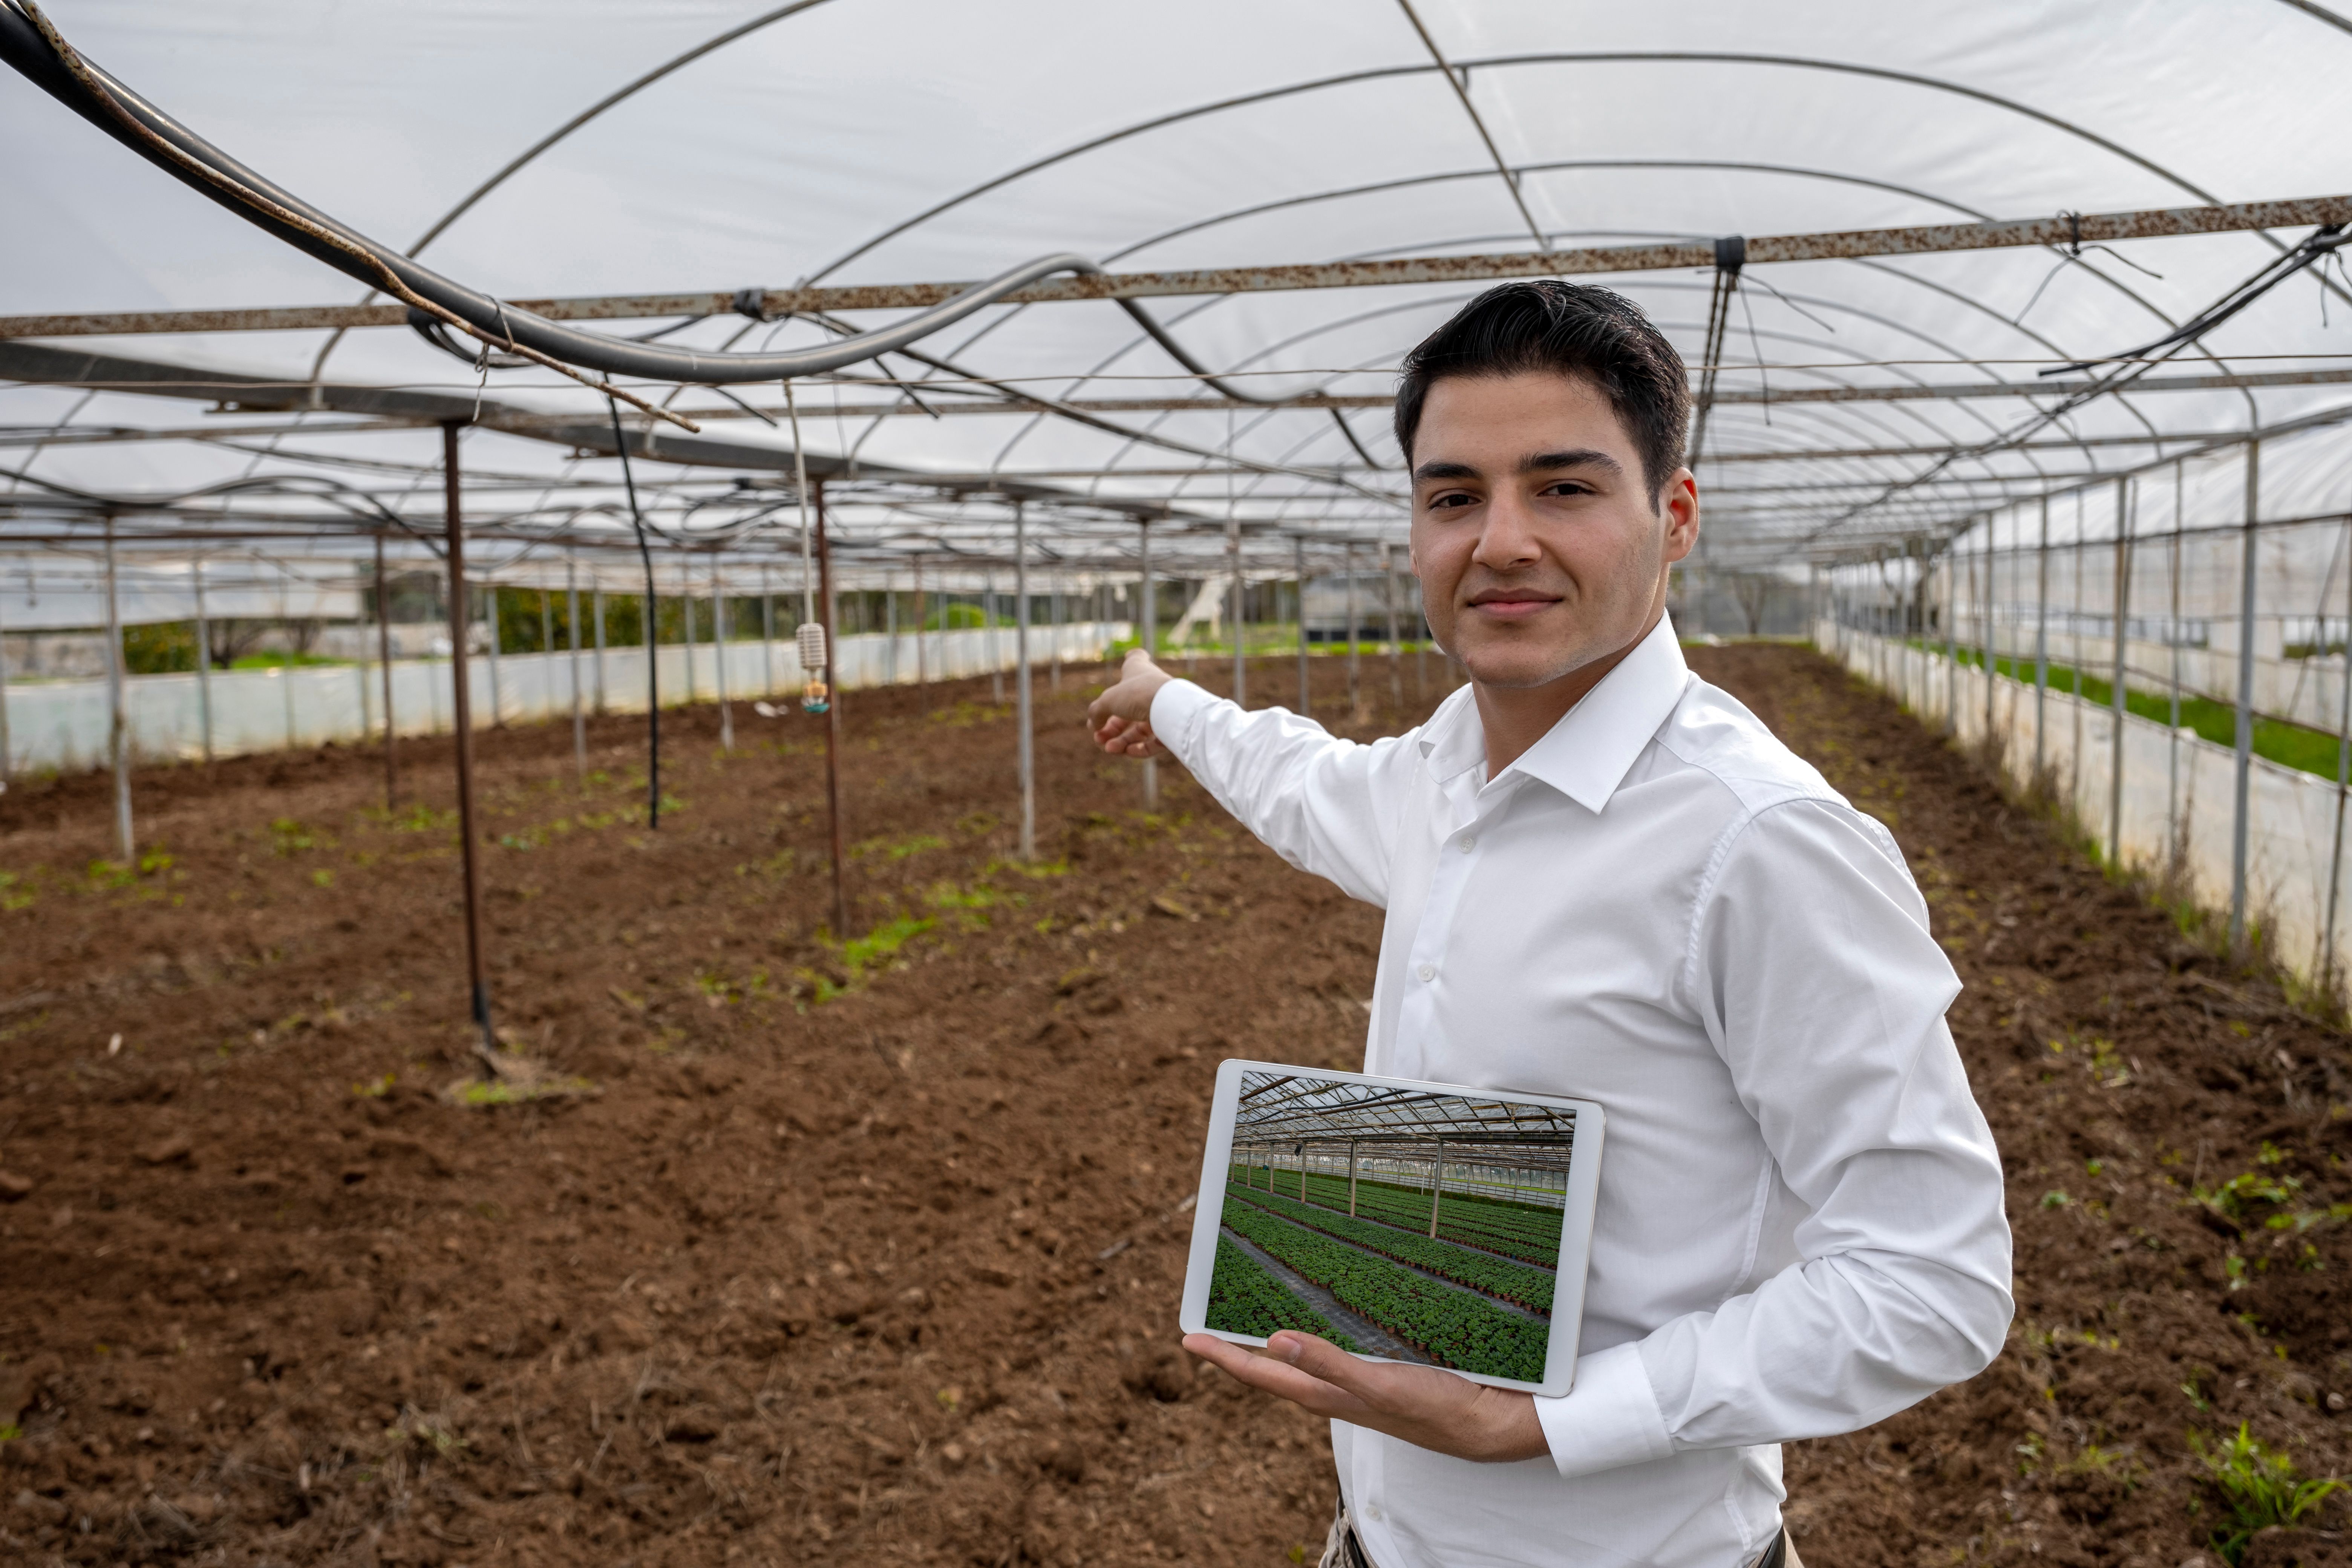
Planning Your System
Before you begin, it's important to plan out the design of your irrigation system. Consider the size of your garden, types of plants, and their watering needs. Draw a rough sketch of your garden area and mark the locations of your water source and the plants that require irrigation.
Next, choose the type of irrigation system that best suits your garden. Drip systems are excellent for precision watering, while soaker hoses work well for larger areas. Sprinkler systems are ideal for lawns. Decide which approach will provide the best coverage for your garden.
Gathering Materials
Once you have a plan, gather the necessary materials. These typically include hoses or tubing, emitters or sprinklers, connectors, stakes, and a timer. You may also need tools such as a shovel or spade, and a pair of scissors or a utility knife for cutting tubing.
It's crucial to select high-quality materials that are durable and suitable for outdoor use. This ensures your irrigation system will last through various weather conditions without frequent replacements.
Installing the Main Line
Start by laying out the main line from your water source to the areas that need irrigation. Use garden stakes to secure the tubing in place and avoid any kinks or twists that could impede water flow. If you're using a drip system, cut lengths of tubing to reach each plant or section of your garden.
Ensure that the main line is buried or secured along pathways to prevent tripping hazards and protect it from damage. This will also help maintain a clean and unobtrusive appearance in your garden.
Connecting Emitters or Sprinklers
With the main line in place, it's time to attach emitters or sprinklers. For drip systems, use connectors to attach emitters along the tubing where water is needed. Adjust the flow rate on each emitter to accommodate the specific water needs of different plants.
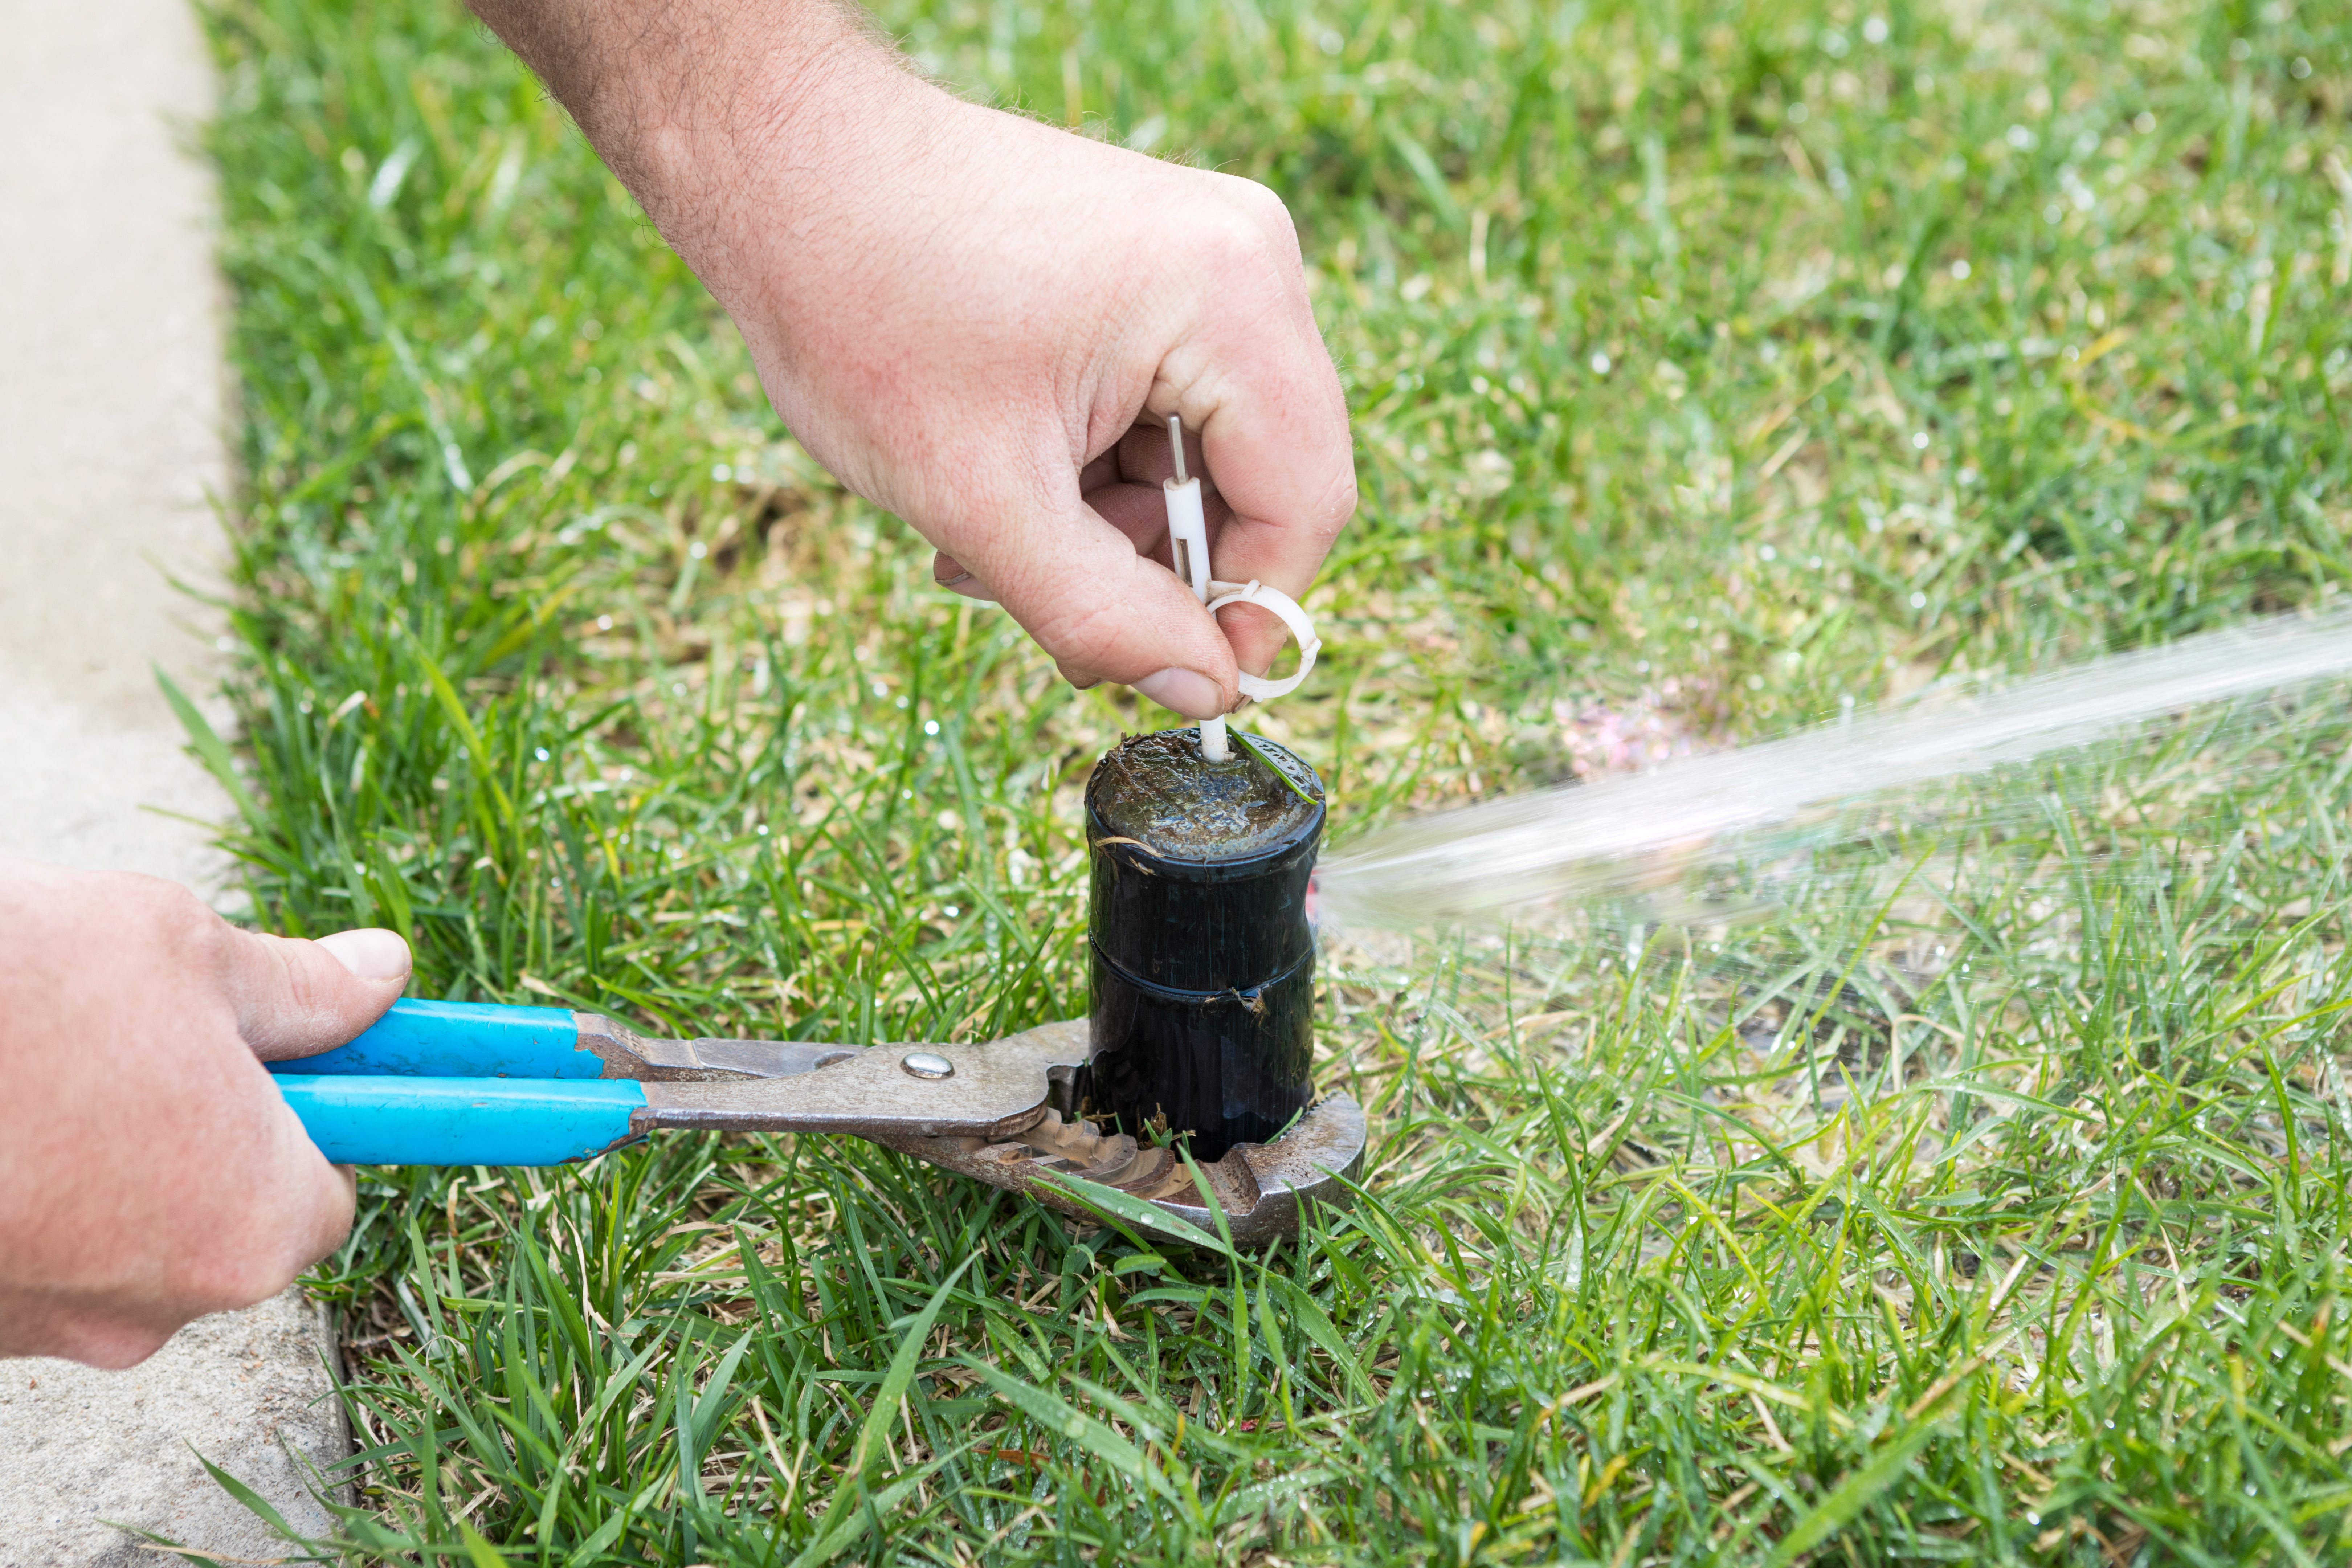
If you're using sprinklers, space them evenly across the lawn or garden area to ensure even coverage. Test each one to confirm they're functioning correctly and adjust their spray patterns as needed.
Testing and Adjusting Your System
Before finalizing your installation, test the entire system to ensure there are no leaks or blockages. Turn on the water supply and check each section for proper operation. Make any necessary adjustments to emitter placement or sprinkler settings.
Finally, set a timer to automate watering schedules based on seasonal needs and weather conditions. This not only saves time but also ensures your garden receives consistent hydration.
Maintaining Your Irrigation System
Regular maintenance is essential to keep your DIY irrigation system running smoothly. Periodically check for clogs, leaks, or other issues that may arise. Clean emitters or replace damaged components as needed.
By following these steps and maintaining your system, you'll enjoy a thriving garden with minimal effort. A well-planned irrigation system can significantly enhance plant health and growth while conserving water resources.